Introduction
Installing GK Compact Template
Before starting your installation, the most important step is to decide whether you can install Quickstart package, which will automate the installation of the latest version of Joomla!, the template, modules, menus, demo content, and database data to match the demo layout of the template, or if you should use the more time-consuming manual installation, which will allow you to update an existing website without removing any content. Which method you should use rests on the current status of your site; if you're starting a brand new website or your existing site is relatively new with little custom content, then the quickstart installation will get you up and running fast. However, since it is a full Joomla! installation of this method may only be used on a clean server; it cannot be installed in an existing Joomla! installation.
Generally, we recommend the quickstart installation if possible, especially if you're fairly new to Joomla. Though configuring modules is not a particularly tough task, if you are not comfortable with the process then there will be a lot of double-checking needed to ensure you are getting the settings correct. Once you have decided on your preferred method, you can move on to the following sections which will provide you with step-by-step information on how to get things installed and ready to go.
Quickstart Installation
Installing the Quickstart is a fast and easy process that runs just like a normal Joomla! installation, so you won't need much time for this to save for the initial transferring of the files to your server. There are however some things you'll need to have handy during the install; first up is FTP access to your server so that you can upload the quickstart files, and then for the actual install you'll also need a database name, username, and password. A full step-by-step guide to this process with further information on the server requirements may be found in our documentation:
Manual Installation
Manually installing the template is a simple process, but the configuration of the template settings and the placing of the modules are more time-consuming. However, though the manual install process requires many more steps than the quickstart install, it is still easy to do; Joomla's functionality makes placing and configuring modules, plugins, and extra elements such as menus very intuitive once you get the hang of it. We can break down the complete process of installing the template and configuring it to match the demo layout into several steps, some more in-depth than others:
- Download and install the template.
- Download and install additional modules and plugins.
- Import template settings.
- Upload demo images (optional).
- Place and configure modules and create page content.
- Setup menus and additional pages.
We'll look at each of these steps more closely in the following sections; once done, you'll have a nice layout that matches the demo example, ready for your content.
Preparing Your Site for Manual Install
Before getting started you'll need to take care of one minor requirement; to make sure that the layout matches the demo you should first deactivate any existing modules in your Joomla! backend, as the install process for the template, will include placing and configuring several modules that make up the front page as well as additional content.
Deactivating modules takes just a couple of very simple steps; just log-in to your Joomla! backend then click on Extensions ? Module Manager in the top menu. You will now see a list of active modules.
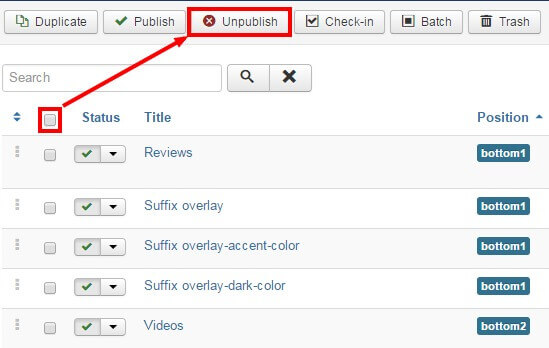
To deactivate all modules at once, click on the tickbox at the top of the second column in the module list to select every module, then click on the Unpublish button at the top of the screen to deactivate. Once done, do the same for any other pages should there be more modules. The existing modules are now deactivated and you can start with the template install.
Download and Install the Template
Now that you're ready to install, the first thing to do is download and install the template's zip package. Click on the following link to go to the GK Compact Download Page (you must be logged in to do so!). You'll see that there are three different files available:
- GK Compact Template - This package contains the basic template files; you should download this package for manual installation.
- GK Compact Quickstart - This contains the quickstart files for a new installation of Joomla that matches the demo layout exactly; this can be ignored if you are installing manually.
- Modules and Plugins
Grab the basic template package and the rest files package; both will be needed during this install. You might also want to download the quickstart package if you want to use the demo images as placeholders before you add your content; we'll discuss how to do this later. Once downloaded, we can install the template package:
- Login to your Joomla! backend and click on Extensions ? Extension Manager, the manager's screen will open; now click on the Upload Package File tab at the top of the screen.
- Click on Choose File to open your file browser; select the recently-downloaded file, then click the Upload & Install button.
- Once installation is complete, click on Extensions ? Template Manager to open the list of available templates; you should now see gk_compact in the list.
- Click on the star next to gk_compact in the Default column to set it as the default template.
The template is now installed and ready to go; next we need to take care of the plugins and modules.
Installing extensions: modules and plugins
GK Compact supports multiple extensions to help build specific functions and content. Check the supported extensions list below:
- GK Cache system plugin
- GK Extmenu system plugin
- GK Open Graph Article Parameters
- JA ACM Module
- JA Extension Manager Component
All the extensions are included in the GK Compact download page. You can download all extensions and install them one by one.
Assigning the Frontpage ID
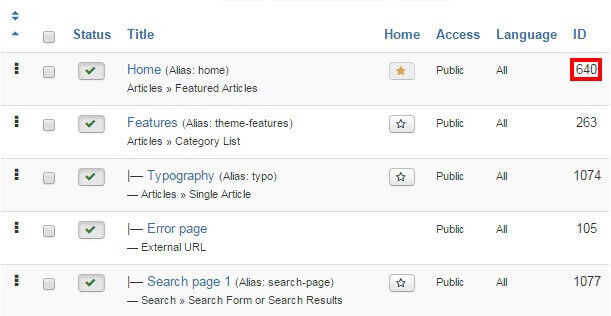
By default, certain page IDs will be assigned as the front page and additional pages; this controls which CSS rules are applied. However, depending on your configuration it is likely that your front page will have a different ID to that which is automatically stored in the imported settings. As such, we will also need to specify the front page ID. To do so, click on Menus? Main Menu in the top menu of your Joomla backend to see a list of assigned menu items. Make a note of the ID for your Home menu item; this number is located in the last column of attributes as in the screenshot below:
Click on Extensions ? Template Manager ? gk_compact > Features tab to see the list of special features options included in the template. We're interested in the Suffixes for pages option at the bottom. In the ItemID/Option field, enter the ID number for your Home menu item, then in the Suffix field, type frontpage, then click the Add Rule button.
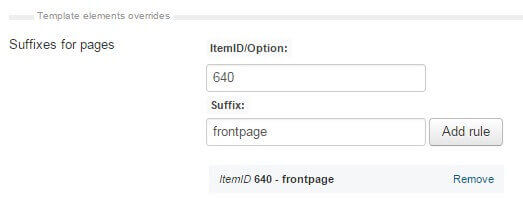
The frontpage suffix will be added to your Homepage, and the correct CSS rules will be applied. Now repeat this process twice to add two more CSS suffixes to the frontpage; nav-transparent and frontpage-grid.
As the cafe template's frontpage also uses the sidebar to place several modules in, we must also make a change in the frontpage's sidebar width. To do this, click on the Layouts tab; the second to last option in this section is Custom Sidebar Width. In the ItemID/Option field, enter your frontpage ID. Next, in the Width field, set this to 50% and click the Add Rule button. The sidebar is now set to the correct width.
Now we can start creating the content for the site; at this point, you may choose to upload the placeholder demo images if you do not have any of your own ready on your site or jump straight to installing the modules for the front page.
Module Placement
The front page of the template is based on modules; from simple custom HTML modules to more complex modules such as our JA ACM and articles category that used to display beautiful articles, CTA, and more
The basic steps for placing a module are:
- Login to your Joomla! backend and click on Extensions ? Module Manager in the top menu to open the Module Manager, where you can see a list of modules currently assigned to your site (as per our preparation any existing modules in your installation should be disabled, indicated by a red X under the Status column, or deleted if unnecessary to avoid confusion).
- Click on New at the top of the screen to open a list of available Module Types
- Select the required Module Type from the list; you will be taken to the settings screen for the module.
- In the Module tab (the first options tab you see when creating a new module of any type), add a title to the Title field; this is required before the module can be saved.
- Set the Show Title option to Show or Hide, depending on the required module settings; some modules use the title text, while others will not.
- In the Position field, set the module position. This tells Joomla where the module should be displayed on your site. You may either select the required position from the drop-down list, or manually type the (case-sensitive) module position into the position field.
- Open the Menu Assignment tab. Here, there is a Module Assignment drop-down list where you can define on what pages/menu items a module should appear on. There are two settings used here; either the module is left at the default On All Pages, so it will appear everywhere on your site (such as with the bottom menu) or the option is set to Only on the pages selected. When this option is set, a list of available pages/menu items will appear, and you can add a checkmark next to the relevant item. Usually, this option is used to display a module on the frontpage only.
- Configure the module-specific settings. Each module will have its unique settings, some more than others. For example, our robust News Show Pro module has multiple tabs of options, whereas a Custom HTML module will just have a space for adding HTML content.
- Save changes to place the module.
These basic steps will be the same for every module placement; it's a good idea to familiarize yourself with this process if you are new to Joomla!, as it is one of the best ways to make your site your own.
Now let's configure the modules for our front page.
Home Page

In this section we will discuss the Home page menu settings and the module published on the Homepage.
Home Page
To create a Home page like in the demo site > Open Menu > Add new menu > Articles > Featured Article
- Menu setting
- Layoutoptions
- options
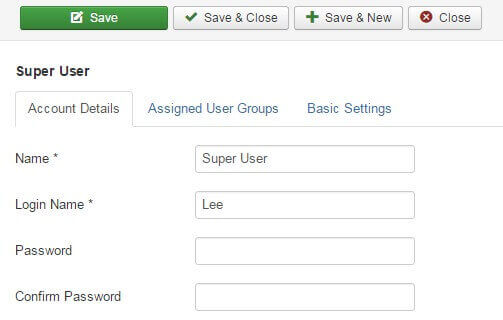
- Click on Users ? User Manager in the top menu of your Joomla backend to be taken to a list of your registered users.
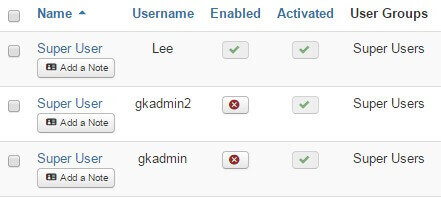
- Click on the username you will be logged in as when placing the modules to be taken to the Edit Profile screen.
- Click on the Basic Settings tab and change the Editor option from Use Default to Editor - None.
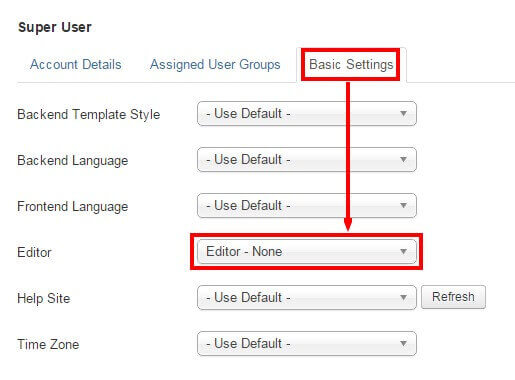
- Click on Save & Close at the top of the screen to save changes.
- Module Description - A short description of the module and how it is used on the front page, along with a link to a screenshot of the complete module settings should you prefer to match the configuration by sight rather than by following the guide. Note that in the case of custom HTML modules the HTML code that needs to be added to the module will be included in the Main Configuration section described below.
- Basic Settings - Provides the basic configuration details, including the module type that should be selected from the list of available modules when creating a new module, and the title, show/hide title, position, and menu assignment settings as used in the demo.
- Main Configuration - Covers the module-specific settings, such as configuring the News Show Pro layouts, or providing the code to be added to a Custom HTML module.
The front page modules provide the core functionality for the one-page view that allows you to link the menu item on modules published on the homepage.
Before starting module placement you should disable the TinyMCE or other WYSIWYG editors. This is because these editors automatically clean up empty HTML tags, but sometimes the modules used in our templates include custom HTML modules that use blank tags to create icons or for additional CSS purposes, so these empty tags shouldn't be removed. Since the clean-up cannot be disabled it is instead necessary to disable the editors.
In order to disable the WYSIWYG editor:
Now when you open the editor in an article or Custom HTML module you will see just the plain text editor, and empty tags will not be automatically removed. Once you have finished module placement you may wish to reactivate the editor for the user should you intend to use it to write articles.
Though each type of module will offer a range of different options, there are two basic but important options tabs to be found in every module; Module and Menu Assignment, which offer four core options; title, show/hide title, position, and menu assignment. The basic options for each front-page module will be provided at the beginning of each module's relevant section, with the more complex module-specific settings following.
Each module covered in this section will include the following information:
With these sections, you will be able to accurately match the demo layout. Now on to the modules!
1. Branding, Design & Digital Creative Agency ACM Module

Module position: header
2. Marquee Text ACM Module

Module position: mainbody_top
3. The Story ACM Module

Module position: mainbody_top
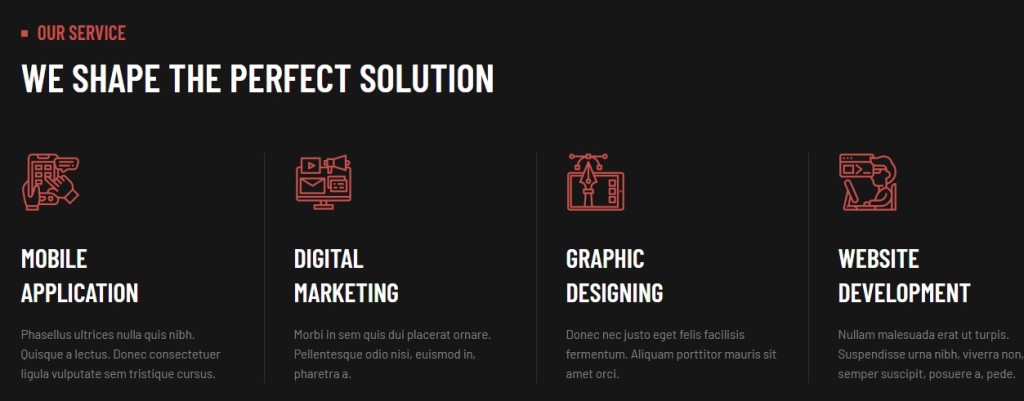
4. Our Services ACM Module
Module position: mainbody_top
5. Video ACM Module
Module position: mainbody_top
6. Awards ACM Module
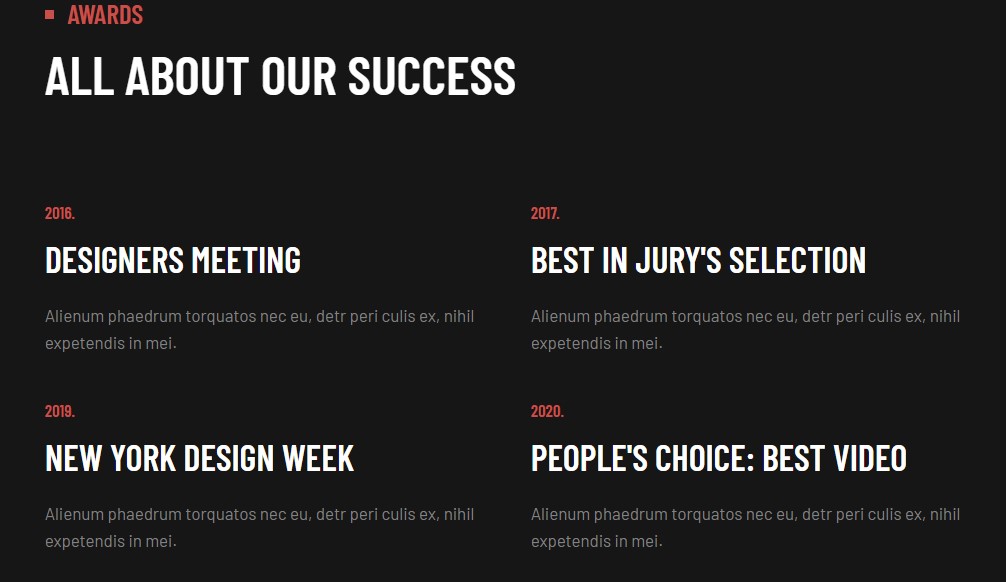
Module position: mainbody
7. Why choose us ACM Module
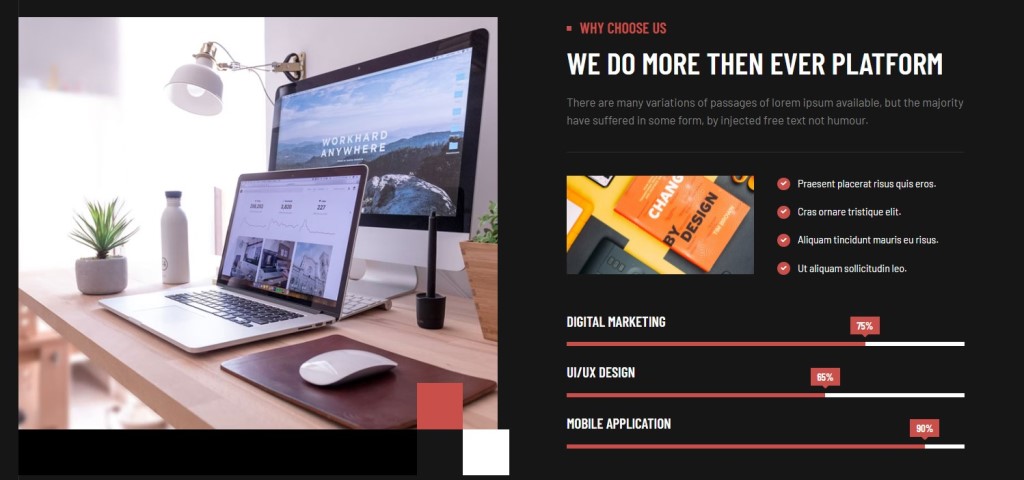
Module position: mainbody
8. Amazing projects Articles category Module

Module position: mainbody
Alternative layout: articles
Module Suffix: full-width
9. Pricing Plan ACM Module
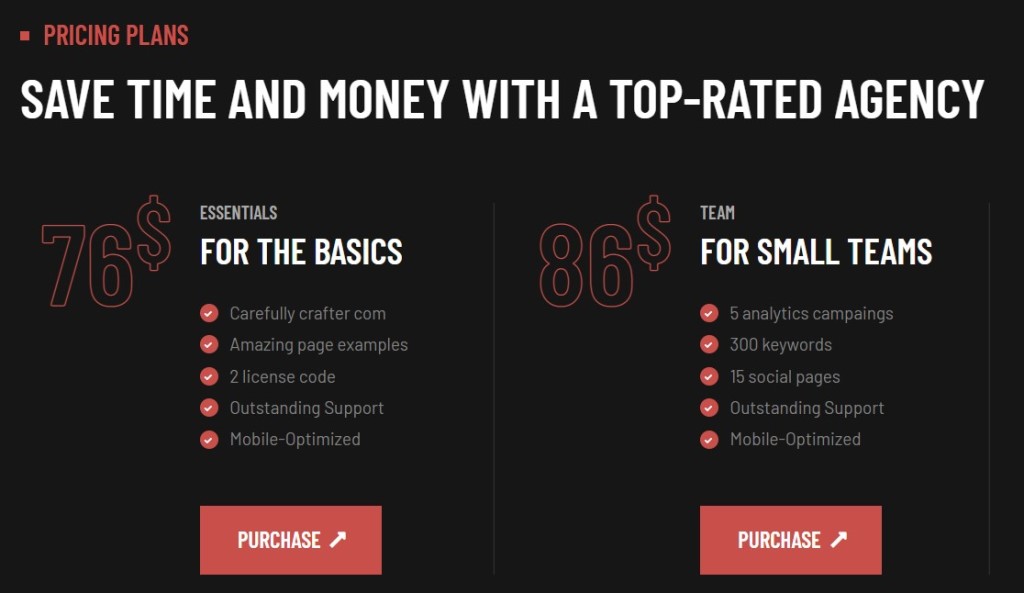
Module position: mainbody
10. We are hiring ACM Module

Module position: mainbody
11. What's happening? Articles category Module
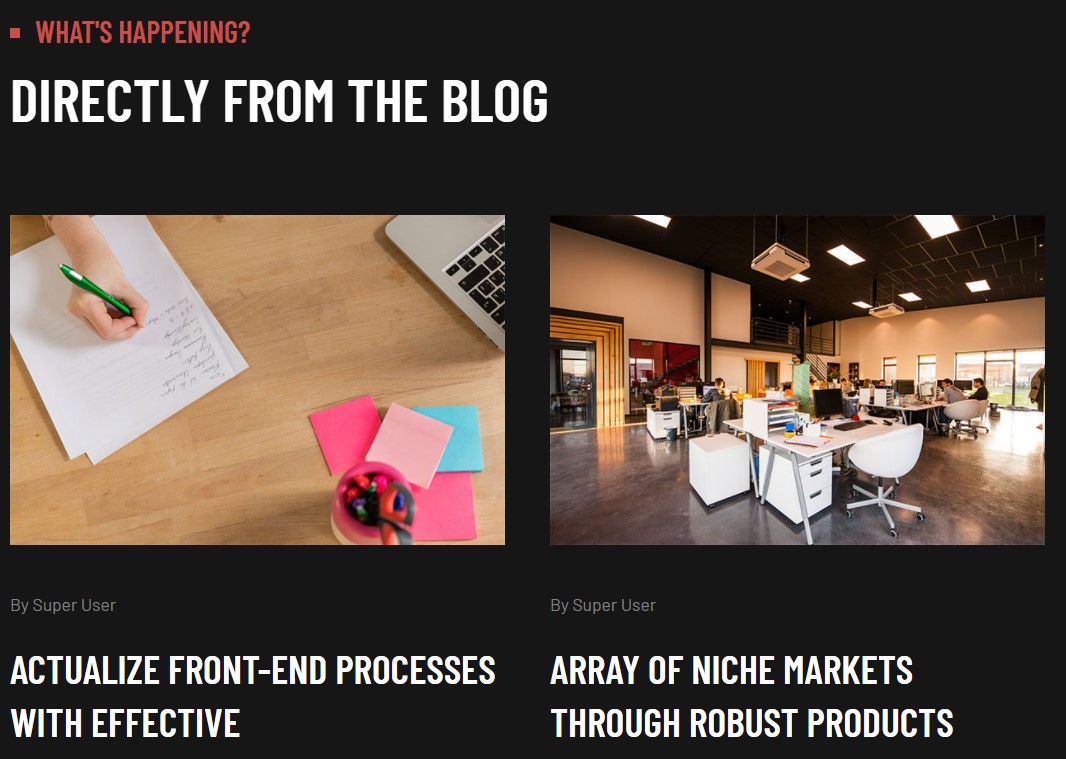
Module position: mainbody_bottom
Alternative layout: blog
Module Suffix: container
12. Brands ACM Module
Module position: mainbody_bottom
13. Contact Module
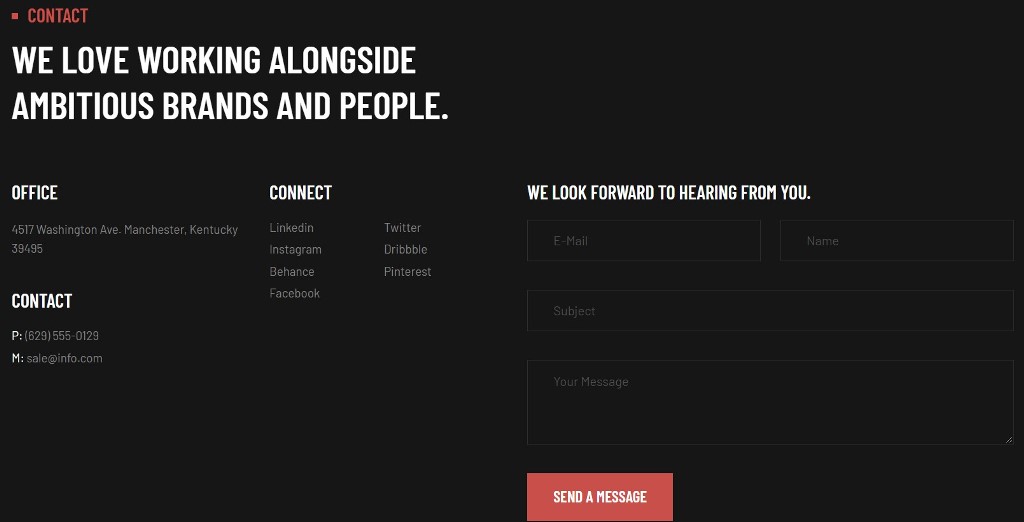
This module loads the Conact form via GK contact plugin
Module position: footer_nav
2. About Page
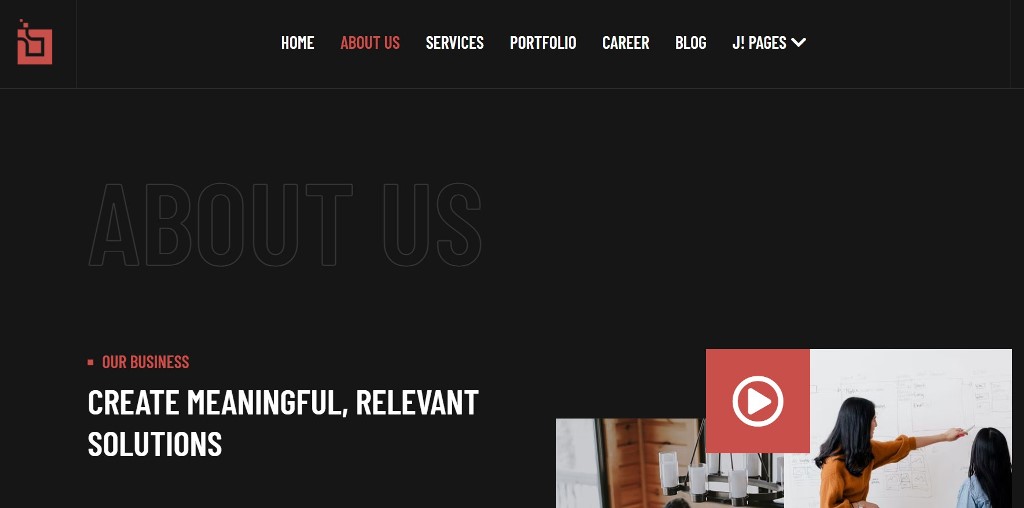
about page uses the default Single article menu and displays content from modules assigned on this menu item.
To create page like in the demo site > Open Menu > Add new menu > Articles > Single Article
2.1 JA Masthead Module

Module position: masthead
2.2 Our Business Module

Module position: mainbody
2.3 How we work ACM Module

Module position: mainbody
2.4 Statistics ACM Module

Module position: mainbody
2.5 OUR TEAM ACM Module

Module position: mainbody
3. Our Services Page
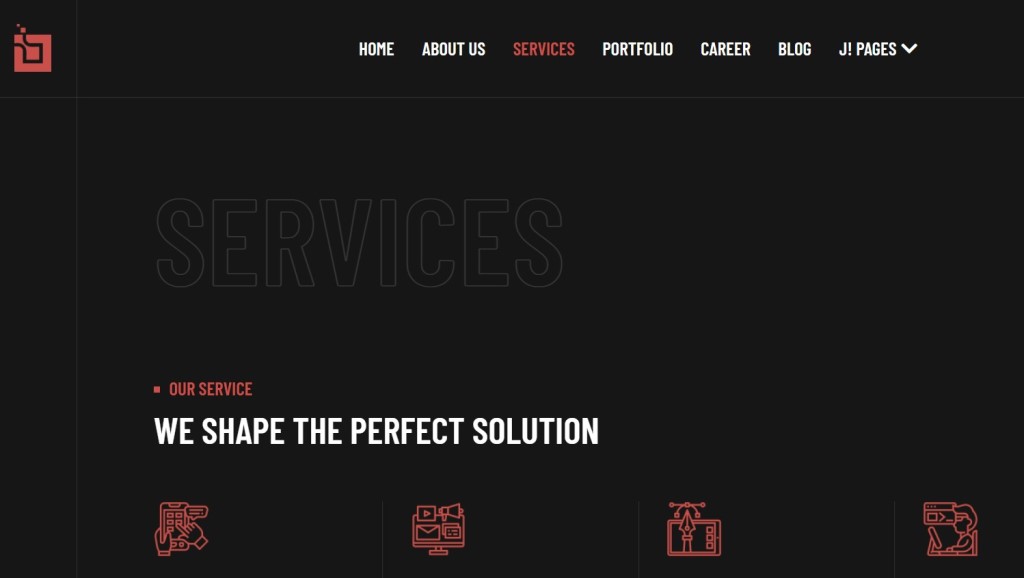
To page like in the demo site > Open Menu > Add new menu > Articles > Single Article
3.1. Our Services ACM Module
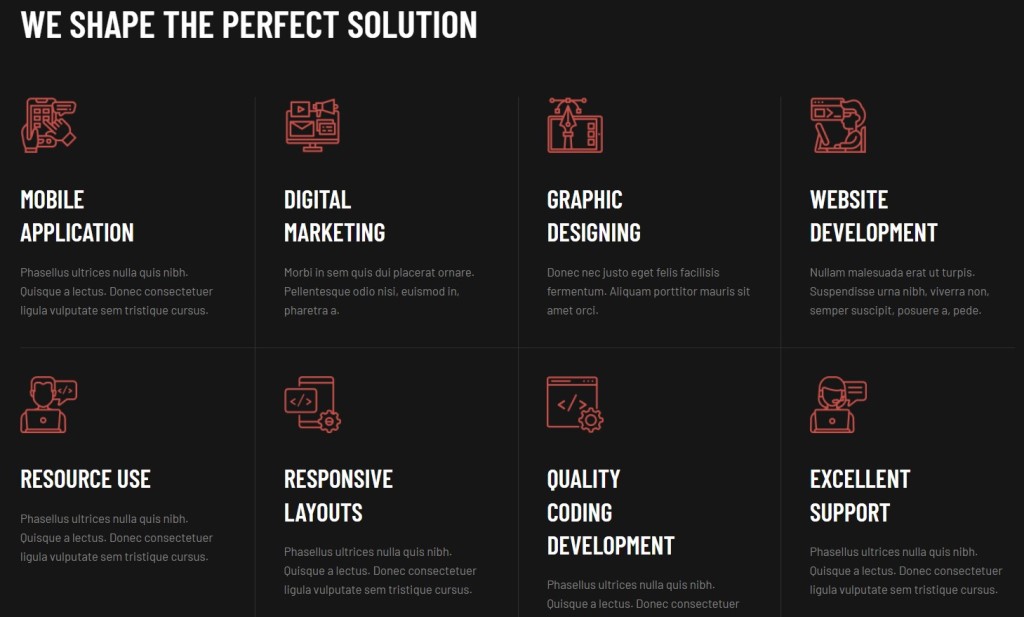
Module position: mainbody_top
3.2. Creative Approch ACM Module

Module position: mainbody
4. Portfolio Page

To create a Portfolio page like in the demo site > Open Menu > Add new menu > Articles > Category blog
5. Career Page

To create a Career like in the demo site > Open Menu > Add new menu > Articles > Single Article
5.1. About Climb ACM Module

Module position: mainbody
5.2. Recruited ACM Module
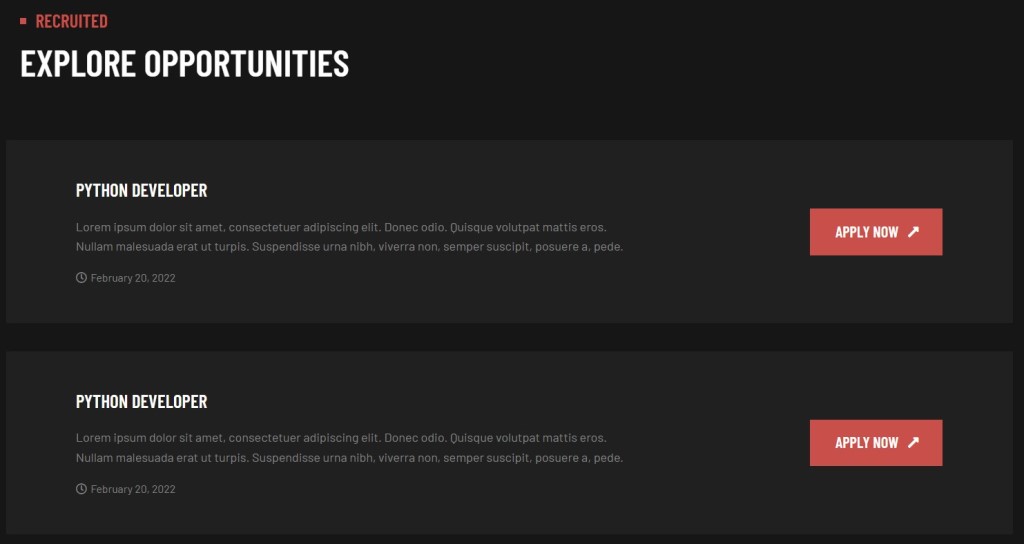
Module position: mainbody
Template Configurations
GK Compact Joomla template provide variety of option to configure the layout, images,JS and CSS compression and many more feature to customize template in easy steps>
In this template homepage and all other page use two different template style, Kindly change the menu and images settings for Home page template style
To configure the template open Extensions > Template style > GK Compact
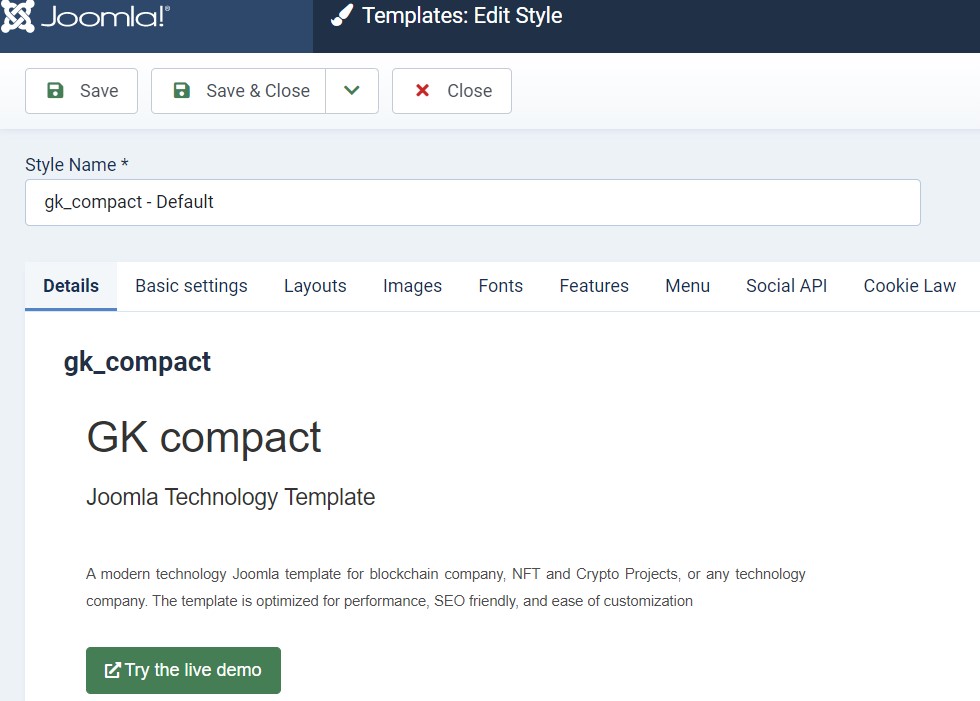
Template style option give multiple tabs to configure the template for the menu, layouts, compression, etc, Please check below settings used in GK Compact demo site